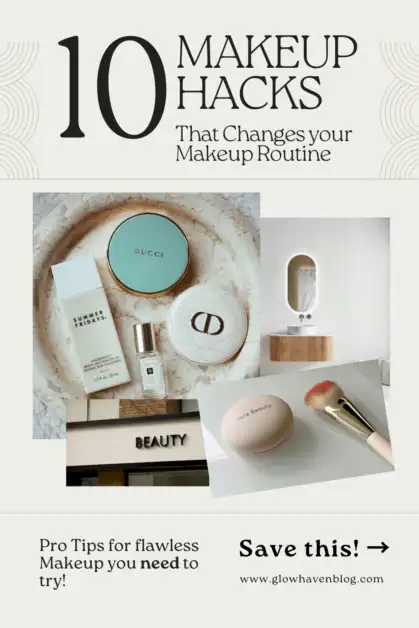
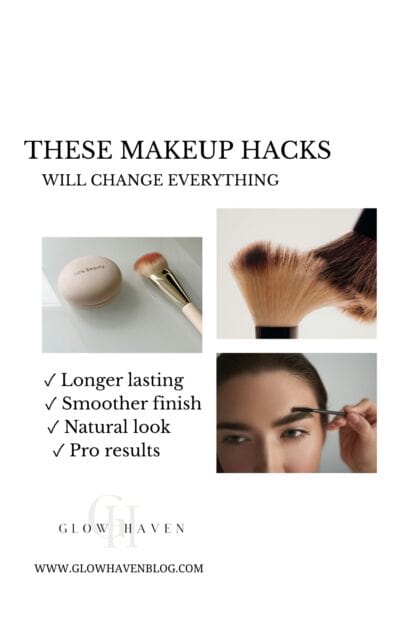
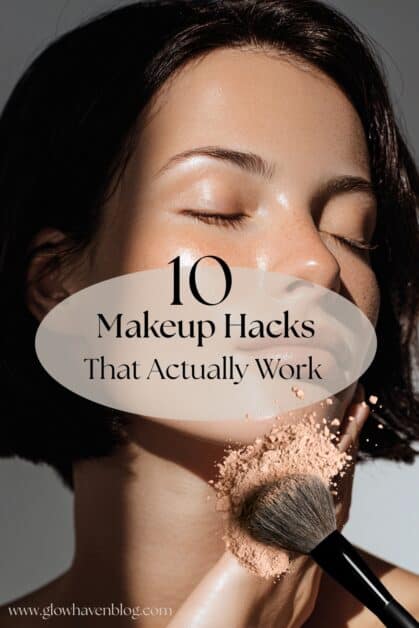
10 Makeup Hacks That Will Change How You Do Your Makeup
Makeup should make you feel more like yourself, not like you are trying to be someone else. It should enhance what is already there, not cover it up or change it completely.
But somewhere along the way, makeup can start to feel complicated. There are endless products, techniques, and rules that make it feel like you need professional skills just to do your everyday routine. Whether you are a complete beginner or just looking for easier, simpler ways to do your makeup, it can feel overwhelming.
The truth is, makeup does not have to be hard. A few simple hacks can make the process faster, easier, and more enjoyable, while giving you better results.
In this post, you will learn 10 easy makeup hacks that will change how you approach your routine, from application techniques to product hacks that actually work.
Prep Your Skin Like It Matters (Because It Does)
The most important makeup hack is not about makeup at all. It is about skincare.
Your makeup will only look as good as the skin underneath it. If your skin is dry, flaky, or uneven, even the best foundation will struggle to look smooth.
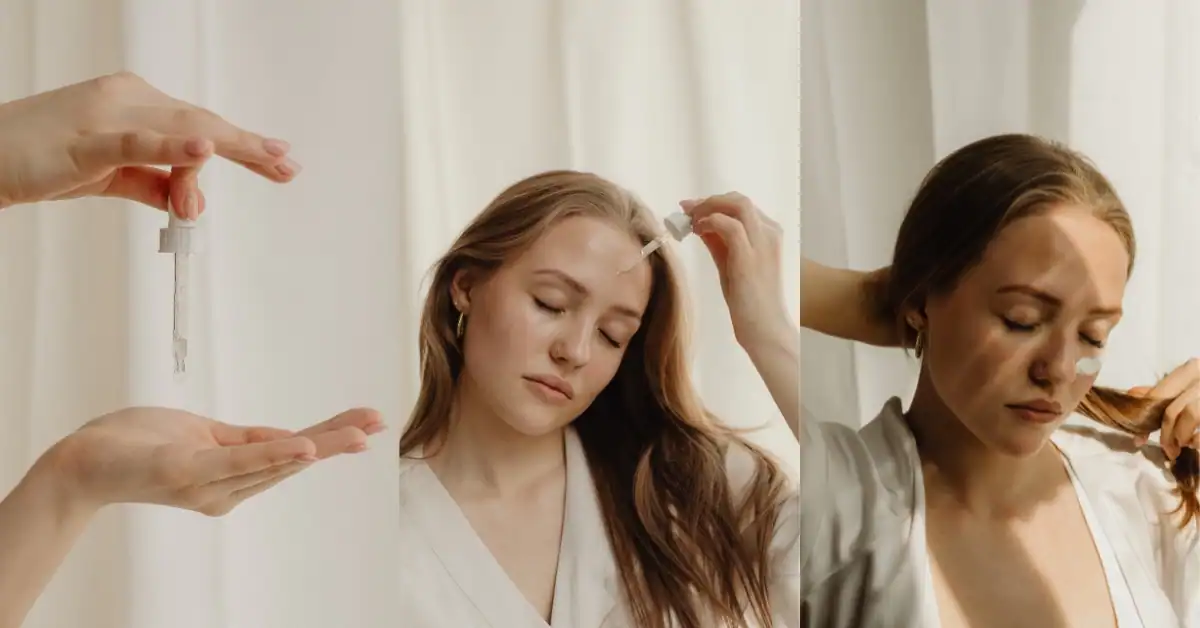
Before applying any makeup, make sure your skin is clean, hydrated, and moisturized. Use a lightweight moisturizer that absorbs fully, and give it a few minutes to settle before you start your makeup.
If your skin is very dry, add a hydrating serum or a few drops of facial oil under your moisturizer. If your skin is oily, use a mattifying primer in areas that tend to get shiny.
When your skin is properly prepped, your makeup applies more smoothly, lasts longer, and looks more natural.
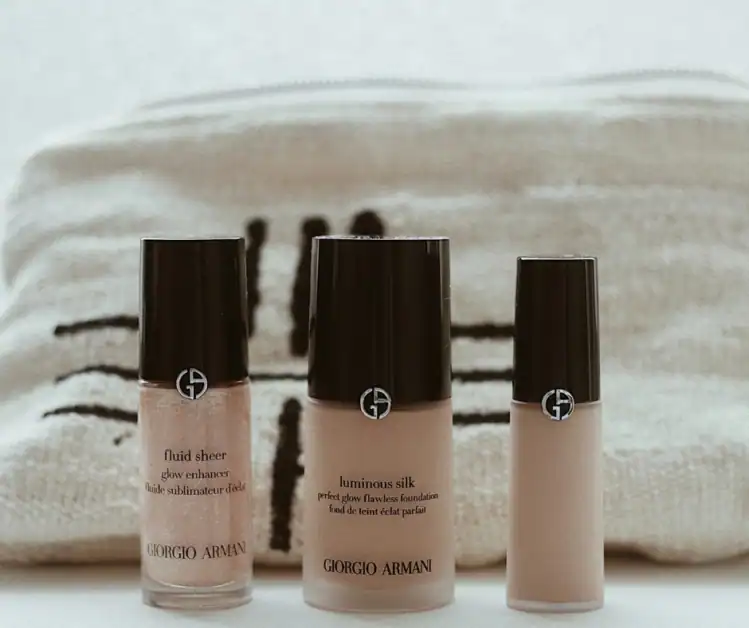
Another hack that takes this even further is that if you want that effortless, dewy “your skin but better” look, try mixing a small amount of foundation with your moisturizer before applying it. This creates a beautiful, lightweight skin tint that evens out your complexion without looking like you are wearing heavy makeup. Mix a pump of foundation with a pea-sized amount of moisturizer on the back of your hand, then apply it to your face with your hands or a damp sponge. You can adjust the ratio depending on how much coverage you want. This technique is perfect for days when you want to look polished but not ”done-up”.
Use Concealer Before Foundation
Most people apply foundation first, then concealer. But flipping the order can actually give you better coverage with less product.
When you apply concealer first, you can target specific areas like dark circles, redness, or blemishes without layering foundation over areas that do not need it. Then, when you apply foundation, you only need a light layer to even out the rest of your skin.
This technique prevents the cakey, heavy look that comes from layering too much product. It also makes your makeup feel lighter and more natural.
Now, here is how to actually apply that concealer for the best results. The skin under your eyes is delicate, so using your ring finger is key because it applies the least amount of pressure compared to your other fingers. Dot concealer under your eyes in an inverted triangle shape, then gently tap it into the skin with your ring finger. This blends the product without tugging or disturbing the delicate skin.
And if you want to take it even further, do the following. After dotting and tapping with your ring finger, use a small fluffy brush to blend the concealer out. The brush diffuses the product and pushes it into the skin, creating a smooth base. Then, go over the area with a makeup sponge using gentle patting motions. You can use a damp sponge for a more natural, dewy finish that blends seamlessly, or a dry sponge if you want more coverage and a matte finish. The brush does the initial blending work, and the sponge sets everything in place without disturbing the product or creating harsh lines.
This two-step method prevents that dreaded concealer crease and makes your under-eye area look naturally brightened instead of obviously covered.
Once your concealer is perfectly blended under your eyes and on any other areas that need it, apply a thin layer of foundation over your entire face. You will use less product and get better results.
Warm Up Your Products
Cold makeup products do not blend as easily as warm ones. If your foundation, concealer, or cream products feel stiff or difficult to blend, warm them up first.
Rub a small amount of product between your fingers or on the back of your hand before applying it to your face. The warmth makes the product softer and easier to blend, which creates a smoother, more seamless finish.
This is especially helpful with cream blush, contour, or highlighter. Warming them up first makes them melt into the skin instead of sitting on top of it.
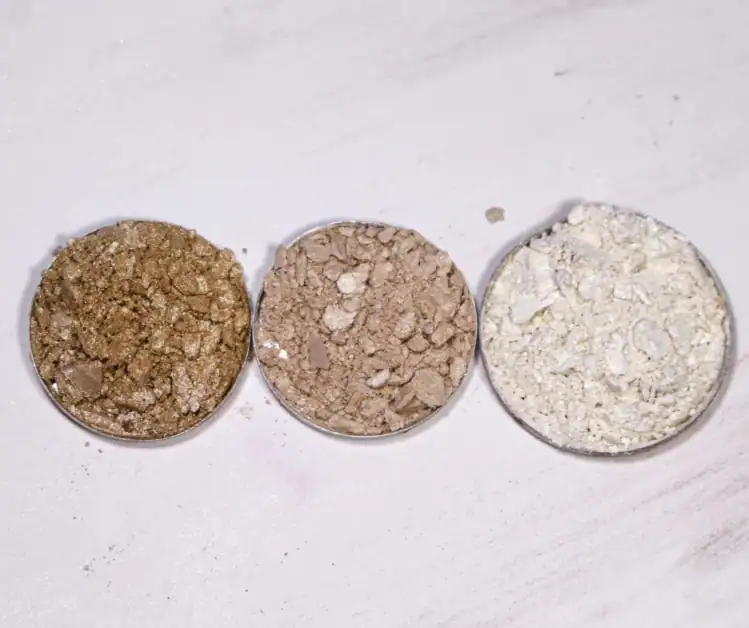
If you are using powder products like bronzer, here is another hack that will give you a more flawless finish: instead of going straight from the bronzer pan to your face, swirl your brush in the product, then apply it to the back of your hand first. Tap off any excess, then pick up the bronzer from your hand with your brush before applying it to your face. This extra step ensures you are not loading too much product onto your brush at once, which is what causes harsh lines and patches. The bronzer goes on more evenly and blends more seamlessly.
Set Only Where You Need To
Setting powder is useful for controlling oil and making makeup last longer, but you do not need to powder your entire face.
Focus on areas that tend to get oily or where you want your makeup to stay in place, like the T-zone, under the eyes, or around the nose. Leave the rest of your face unpowdered for a more natural, skin-like finish.
If you have dry skin, you may not need setting powder at all. A light setting spray can lock your makeup in place without adding any dryness.
Apply Highlighter Before Powder
If you want a natural, glowing finish, apply cream or liquid highlighter before you set your makeup with powder.
When you apply highlighter before powder, it melts into the skin and creates a soft, lit-from-within glow. If you apply it after powder, it can sit on top of the skin and look more intense or glittery. Almost like it is not ”part of the makeup”, if that makes sense.
Dab a small amount of cream highlighter on the high points of your face, the tops of your cheekbones, the bridge of your nose, under your eyebrows, and your cupid’s bow, then blend it out with your fingers or a damp sponge. If you do use setting powder on your T-zone or other areas, the highlighted parts will stay dewy and natural while the rest of your makeup stays in place.
Fix Clumpy Mascara with a Clean Spoolie
If your mascara goes on clumpy or your lashes stick together, you do not need to remove it and start over.
Keep a clean spoolie brush (the kind that looks like a mascara wand) in your makeup bag. After applying mascara, run the clean spoolie through your lashes to separate them and remove any clumps.
This simple step makes your lashes look more defined and natural without having to reapply mascara.
And if you want your lashes to look super lifted and hold a dramatic curl all day long, you should definitely try heating your lash curler with a hairdryer before using it.
Turn your hairdryer on for a few seconds and gently warm up the metal part of your lash curler. Test it on the back of your hand first to make sure it is not too hot, then use it to curl your lashes as you normally would.
The gentle heat works like a curling iron for your lashes, setting the curl in place much more effectively than a cold curler ever could. Just like hair holds a curl better with heat, your lashes do too. Just be careful not to make the curler too hot, you want it warm, not burning.
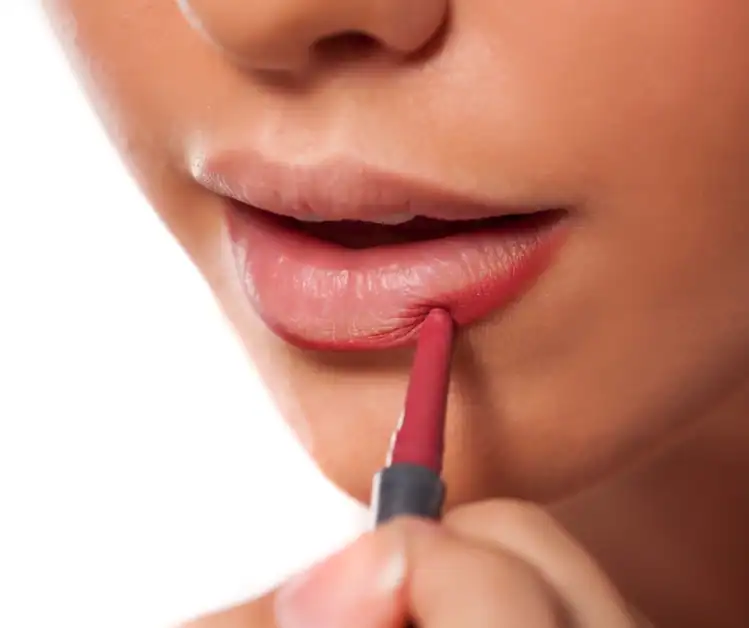
Use Lip Liner All Over Your Lips
Lip liner is not just for outlining your lips. Using it all over your lips creates a base that makes lipstick last longer and prevents it from feathering or fading unevenly.
Choose a lip liner that matches your lipstick or your natural lip color, then fill in your entire lips before applying lipstick or gloss. This technique gives you longer-lasting color and a more polished finish.
If you prefer a natural look, you can even skip lipstick entirely and just use lip liner topped with a clear or tinted balm.
Here is another hack to make your lipstick bulletproof. After applying your lipstick, take a tissue and hold it gently over your lips. Then, using a fluffy brush, lightly dust translucent loose powder over the tissue.
The powder will pass through the tissue and set your lipstick without making it look cakey or dry. This creates a barrier that locks the color in place and prevents it from moving, transferring, or fading throughout the day.
Your lipstick will stay exactly where you applied it, and you will not have to worry about constant touch-ups.
Blend Your Blush Toward Your Temples
The way you apply blush can change the entire shape and balance of your face.
If you are never quite sure where to apply your blush in the first place, try this simple hand hack. Place your thumb near the side of your nose and let the rest of your hand naturally fall toward your ear. Where your fingers land on your cheek is exactly where your blush should go.
This technique works because it follows the natural contours of your face and places the blush where it will lift and brighten your features most effectively.
Once you have found the right placement, smile to find the apples of your cheeks and apply your blush there. But here is the key, instead of leaving it just on the apples of your cheeks, blend it upward toward your temples. It creates a lifted, youthful effect and makes your face look more balanced. Blend the blush upward and outward in the direction of your hairline.
This technique works with cream, powder, or liquid blush and gives a more natural, flattering finish.
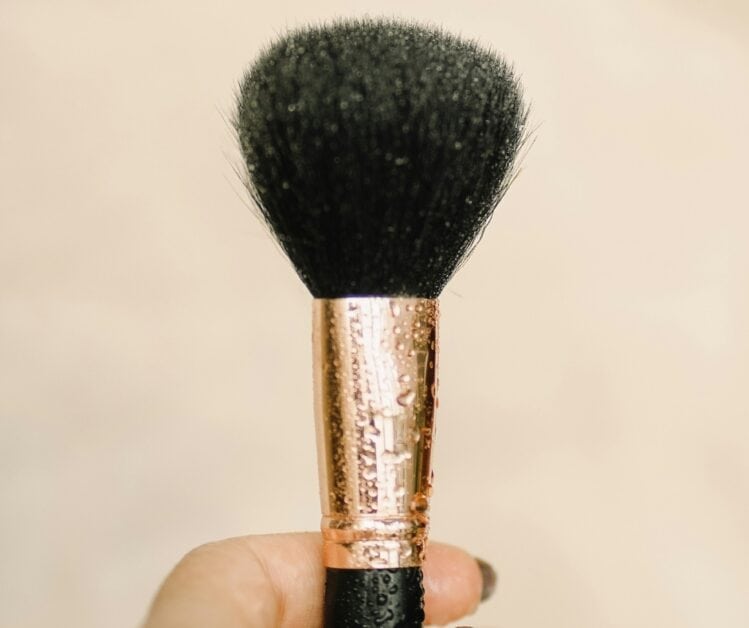
Clean Your Brushes Regularly
This is not glamorous, but it is one of the most important makeup hacks you can follow.
Dirty brushes collect bacteria, oil, and old product buildup, which can cause breakouts, irritation, and uneven makeup application. Clean brushes apply makeup more smoothly and blend more seamlessly.
Wash your brushes at least once a week if you use them daily. Use a gentle cleanser or a brush-specific cleaner, rinse them thoroughly, and lay them flat to dry.
If washing your brushes weekly feels overwhelming, use a brush cleaning spray and spritz your brushes between uses. It is not a replacement for deep cleaning, but it helps reduce buildup and keeps your brushes fresher between washes.
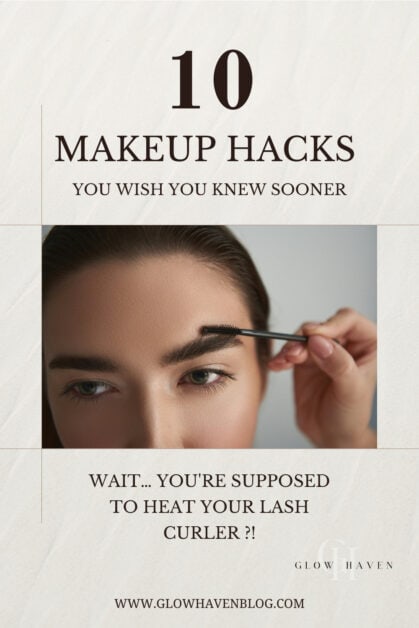
Step Up Your Eye Makeup
Here are a couple of game-changing hacks specifically for eye makeup that will take your look to the next level.
Before applying any pencil or liner to your waterline, gently wipe the area with a cotton swab. This removes excess moisture and oils that prevent liner from sticking. Your eyeliner will grip much better, last significantly longer, and stay exactly where you put it without migrating or fading throughout the day.
And when you are working with cream eyeshadow or eyeliner, warming up the product between your fingers before application makes it blend seamlessly and adhere better to your lids. This simple step prevents patchiness and makes everything glide on smoothly for a more professional finish.
Conclusion
Makeup does not have to be complicated to look beautiful. These simple 10 makeup hacks are perfect whether you are just starting out with makeup or looking for easier ways to elevate your everyday routine. Small adjustments in how you prep, apply, and blend your products can make a noticeable difference in how your makeup looks and feels.
Try one or two of these easy makeup hacks at a time and see what works for your routine.